
Convert Graphics into JEF Embroidery Files Easily
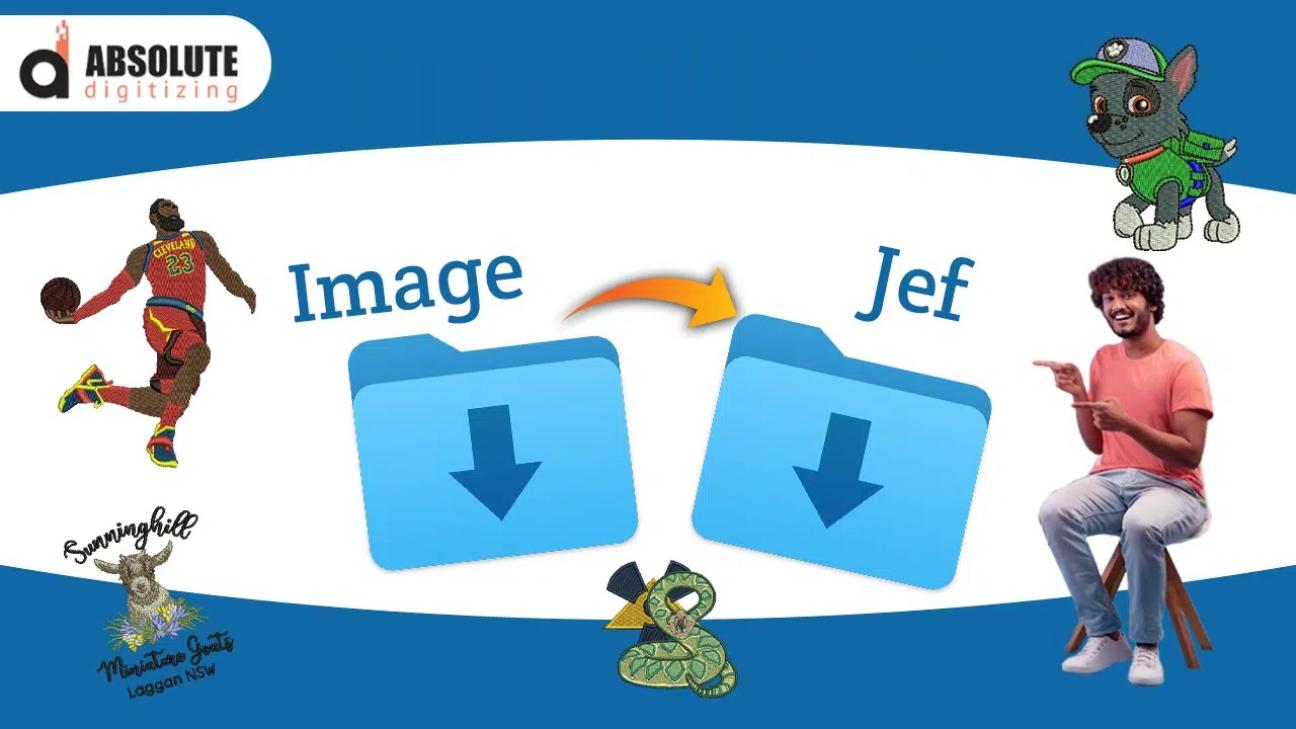
A great graphic can look perfect on a screen, yet fail when stitched onto fabric. The reason is simple: an embroidery machine does not read ordinary image files the same way a computer does. It needs a stitch-based embroidery format such as JEF.
If you want to Convert Graphics into JEF Embroidery Files, the graphic must first be turned into embroidery instructions. This process involves digitizing artwork, selecting suitable stitch types, setting thread colors, adjusting stitch density, and saving the finished design in JEF format.
Whether you are preparing a business logo, custom artwork, lettering, or a detailed design, understanding this process can help you achieve cleaner and more professional embroidery.
What Is a JEF Embroidery File?
JEF is an embroidery file format commonly associated with Janome embroidery machines. Unlike JPG, PNG, or other standard graphic formats, a JEF file contains information that tells an embroidery machine how to stitch a design.
This information can include:
- Stitch placement and movement
- Thread colors
- Stitch sequences
- Needle changes
- Design dimensions
- Machine-related embroidery instructions
A JPG tells you what an image looks like. A JEF file tells an embroidery machine how to create that image with stitches.
Why Convert Graphics into JEF Embroidery Files?
Graphics are designed for screens, websites, printing, or general digital use. Embroidery requires a completely different type of artwork preparation.
When you convert graphics into JEF embroidery files, the artwork becomes suitable for machine embroidery.
This is useful for:
- Company logos
- Monograms
- Apparel decoration
- Hats and caps
- Jackets
- Uniforms
- Custom patches
- Personalized gifts
- Promotional products
A properly digitized design can also reduce common embroidery problems such as excessive thread changes, poor coverage, loose stitches, and uneven lettering.
Graphic Files vs. Embroidery Files
Before converting artwork, it helps to understand the difference between graphic and embroidery formats.
Common Graphic Formats
Graphic artwork may come in formats such as:
- JPG
- PNG
- SVG
- AI
- EPS
These files contain visual information such as shapes, colors, lines, and pixels.
JEF Embroidery Format
A JEF file is built around stitches rather than pixels or traditional vector paths.
For example, a red circle in a PNG is simply a colored shape. In an embroidery file, that same circle needs to be converted into a stitch pattern with the correct direction, density, underlay, and sequence.
That is why simply changing the file extension from .png to .jef does not create a usable embroidery design.
How to Convert Graphics into JEF Embroidery Files
The conversion process usually involves several important stages.
1. Prepare the Artwork
Start with the cleanest version of your graphic.
A high-resolution image or vector artwork is usually easier to digitize because the important details are clearer.
Before digitizing, check:
- Image quality
- Background removal
- Color separation
- Small details
- Text clarity
- Overall design size
If the artwork contains unnecessary shadows, gradients, or tiny details, simplifying it can improve the final embroidery.
2. Separate the Design Elements
The artwork should be divided into sections that can be embroidered individually.
For example, a business logo might contain:
- Large background shapes
- Text
- Borders
- Small decorative elements
Each section may require a different stitch type or direction.
Good separation helps the digitizer create a logical stitch sequence.
3. Select Appropriate Stitch Types
Not every part of a design should use the same stitch.
Common machine embroidery stitch types include:
Satin Stitch:
Often used for lettering, borders, and narrow shapes. It creates a smooth and slightly raised appearance.
Fill Stitch:
Useful for covering larger areas with thread.
Running Stitch:
Suitable for thin outlines and fine details.
Choosing the right stitch type is one of the most important parts of professional embroidery digitizing.
4. Set Stitch Direction
Stitch direction affects how light reflects from the thread.
Changing the direction can make different areas of the design look more defined and dimensional.
For example, two sections filled with the same thread color can look different when their stitch angles are changed.
5. Add Underlay Stitches
Underlay creates a foundation underneath the main stitches.
It can help:
- Stabilize fabric
- Improve coverage
- Reduce distortion
- Support satin stitches
- Keep the design looking cleaner
The appropriate underlay depends on the fabric, design, stitch type, and size.
6. Adjust Stitch Density
Stitch density determines how closely stitches are placed together.
Too much density can create a bulky design and may cause thread breaks or fabric distortion. Too little density can produce poor coverage and allow the fabric to show through.
The correct balance depends on the material and design.
7. Set Thread Colors
Once the stitch structure is ready, assign suitable thread colors.
Remember that colors can appear differently on a monitor compared with actual embroidery thread. For important projects, checking the physical thread chart is helpful.
8. Create the Stitch Sequence
The stitching order matters.
A well-planned sequence can reduce unnecessary jumps, trims, thread changes, and registration problems.
The goal is to make the machine move through the design efficiently while maintaining a clean appearance.
9. Resize and Check the Design
Before saving the file, confirm that the design is the correct size for its intended use.
A design that looks good at 8 inches may not work well when reduced to 1.5 inches. Small details can become too difficult for an embroidery machine to reproduce.
Always consider the final embroidery size.
10. Export the Design as JEF
After digitizing and checking the design, export or save it in JEF format using compatible embroidery software.
The resulting file can then be transferred to a compatible Janome embroidery machine according to the machine's requirements.
Can You Convert JPG or PNG Directly to JEF?
Not in the true sense.
A JPG or PNG contains pixels, while JEF contains embroidery instructions. A conversion tool may help process artwork, but a quality embroidery design still needs proper digitizing.
Automatic conversion can work for very simple artwork, but complex logos and detailed designs often need manual adjustments.
For professional results, focus on digitizing quality rather than simply changing file formats.
What Makes a Good JEF Embroidery Design?
A good JEF file is more than an image that has been converted into stitches.
It should have:
- Clean stitch placement
- Suitable stitch density
- Proper underlay
- Logical stitch sequencing
- Appropriate thread colors
- Correct dimensions
- Minimal unnecessary jumps
- Smooth outlines
- Good fabric coverage
The design should also be tested when possible. A file that looks perfect in embroidery software may behave differently when stitched on actual fabric.
Common Problems When Converting Artwork to JEF
Excessive Stitch Density
Too many stitches can make the design heavy and increase thread consumption. It can also cause puckering or thread breaks.
Tiny Details
Very small shapes may disappear when embroidered. Details that work on a screen may need to be enlarged or removed.
Poor Stitch Direction
Random stitch angles can make the design look inconsistent. Planned stitch direction generally produces a more polished result.
Too Many Colors
A graphic may contain many subtle shades that are unnecessary for embroidery. Reducing colors can make the design easier and faster to stitch.
Incorrect Size
Embroidery has practical limits. Extremely small lettering and fine details can become difficult to reproduce accurately.
Tips for Better JEF Embroidery Results
If you regularly work with machine embroidery, keep these tips in mind:
- Start with clean artwork. Better source artwork makes digitizing easier.
- Simplify complicated designs. Remove details that are too small to stitch.
- Consider the fabric. A design for denim may need different settings from one for lightweight fabric.
- Choose stitches carefully. Match stitch types to the shapes they will fill.
- Avoid excessive density. More stitches do not always mean better quality.
- Check the final size. Digitize according to the actual size you plan to stitch.
- Preview before stitching. Use embroidery software to inspect the sequence and stitch structure.
- Test important designs. A sample stitch-out can reveal problems before production.
When Should You Use Professional Embroidery Digitizing?
If the design is simple, you may be able to prepare it yourself with suitable embroidery software and experience.
Professional help becomes especially valuable when you are working with:
- Detailed logos
- Small lettering
- Complex artwork
- Multiple fabric types
- Large production orders
- Commercial apparel
- Designs requiring precise registration
At Absolute Digitizing, artwork can be professionally prepared for machine embroidery with attention to stitch structure, density, sequencing, and final production requirements.
The goal is not merely to produce a JEF file. The goal is to create a design that stitches cleanly and looks good on the finished product.
Final Thoughts
Learning how to Convert Graphics into JEF Embroidery Files starts with understanding that embroidery is different from ordinary digital graphics. A JPG, PNG, or vector file provides visual artwork, while a JEF file provides stitch instructions for an embroidery machine.
The best results come from careful artwork preparation, thoughtful digitizing, suitable stitch types, proper density, accurate sequencing, and final testing.
If you are preparing a logo or custom design for machine embroidery, taking time to create a properly digitized JEF file can make a noticeable difference in stitch quality, production efficiency, and the finished appearance.
FAQs
1. What is a JEF file used for?
JEF is an embroidery file format designed for use with compatible Janome embroidery machines. It contains stitch and machine instructions needed to embroider a design.
2. Can I convert a JPG directly into a JEF file?
A JPG cannot simply be renamed as a JEF file. The artwork needs to be digitized into stitches and then exported as a JEF embroidery file.
3. What artwork works best for JEF digitizing?
Clean, high-resolution artwork and vector graphics are generally easier to digitize. Simple shapes, clear lettering, and defined colors can make the process more efficient.
4. Why does my converted embroidery design look different from the original?
Embroidery uses thread and fabric instead of pixels. Small details, gradients, thin lines, and color variations may need to be simplified or redesigned to work properly with stitches.
5. Is professional JEF digitizing worth it?
For logos, detailed artwork, commercial embroidery, or production orders, professional digitizing can help create cleaner stitches, better coverage, and a more reliable machine-ready design.
